


Have you ever wanted a tool that not only creates images but also adjusts them until they're just right? With Stable Diffusion 3 and GPT-4 Vision, this is now possible! These tools work together to make sure every image perfectly matches your needs.
This setup lets Stable Diffusion generate images while GPT-4 helps by giving smart feedback to improve them. This new approach will change the game for everyone from graphic designers to social media marketers, making it easier to get custom visuals that stand out. Let’s dive deep into an agent that generates image for us and we refine it using automated feedbacks.
Why GPT4-Vision and not any other LLM?
When you think about AI or stable diffusion creating images, it’s like having an artist who’s really good at taking instructions. But sometimes, even the best artists need a little guidance to get things in the right direction. This is where GPT-4 Vision comes into play—it gives feedback to make sure everything looks perfect.
Fine-Tuning the Details using Precise Feedback
Imagine you ask your AI to draw a sunny park scene, but the picture comes out a bit dull. GPT-4 Vision steps in like a keen-eyed art critic. It looks over the image and might recommend adjustments to the color saturation or the addition of elements that convey brightness and sunshine more effectively. It’s all about making sure the picture not only matches what you asked for but feels right too, I get it! that sounds really complicated and will require a hell lot of training, but it’s the world of fine-tuning things until you get what you want.
Contextual Understanding
GPT-4 Vision isn’t just about details and descriptive feedback. It really understands what the image is supposed to represent. If your picture tells a story or needs to fit a certain mood, it does check that it hits the mark. What’s really cool is that GPT-4 Vision doesn’t just correct; it also suggests new ideas that might take the image in an exciting new direction.
Using tools like GPT-4 Vision gets woven into the whole process of making images. Here’s how it works: once the Stable Diffusion 3 model makes an initial image, GPT-4 Vision takes a look and gives its thoughts. If it’s not quite right, the model tries again with new instructions from GPT-4 Vision, improving with each round. This back-and-forth continues until the image is just as you want it.
Image Generation Techniques
There are various AI image generation techniques that utilise different kinds of neural networks such as CNNs, GANs, VAEs, Stable Diffusion, Vision Transformers, Style Transfer, Super-Resolution etc. We’ll talk about a few of them in here—
Generative Adversarial Networks (GANs)
Generative Adversarial Networks, or GANs, use a unique approach to generate images that mimic real-life visuals. The process involves two parts: the Generator and the Discriminator. The generator creates images from scratch, starting with random noise, aiming to produce outputs that look as real as possible. The discriminator, on the other hand, evaluates these images against actual photos, trying to distinguish genuine from artificial. This setup creates a dynamic where the generator continuously learns to improve based on the feedback from the discriminator, leading to incredibly realistic results.
As the generator improves, the discriminator must also enhance its ability to detect subtleties, making the system robust. This back-and-forth ensures that the generated images are of high quality. GANs are popular in creating artwork, fashion design, and even in video game environments, where they can produce diverse, high-resolution images that are hard to distinguish from real objects or scenes.
.png)
Variational Autoencoders (VAEs)
Variational Autoencoders (VAEs) serve a slightly different purpose in the AI image generation sphere. They work by compressing data into a lower-dimensional representation and then reconstructing the output from this compressed data. This process starts with an encoder that reduces the input image into a smaller, dense representation, capturing the essence of the image. The decoder then takes this representation and reconstructs the original image as closely as possible.
.png)
The strength of VAEs lies in their ability to learn the underlying probability distribution of the data. By modeling the distribution of input images, VAEs can generate new images that have variations yet hold true to the statistical properties of the original dataset. This capability makes VAEs especially useful in fields like facial recognition and medical imaging, where nuanced variations are crucial.
Vision Tranformers (ViTs)
.png)
Vision Transformers (ViTs) are a class of neural network architectures that apply the transformer mechanism, originally designed for natural language processing tasks, to image processing. Unlike traditional convolutional neural networks that process images through localized filters, ViTs divide an image into patches and treat these patches as a sequence of tokens, similar to words in a sentence. This approach allows ViTs to capture both local and global dependencies across the image, enabling them to achieve excellent performance on a variety of computer vision tasks, including image classification, object detection, and more. ViTs offer a robust alternative to CNNs, especially when trained on large-scale datasets, benefiting from the transformers' ability to learn complex patterns without the need for extensive domain-specific engineering.
Stable Diffusion
Stable Diffusion operates using an encoder-decoder architecture. The encoder progressively adds noise to an image, transforming it from its initial state to a purely noisy state across multiple steps. Conversely, the decoder works to reverse this process: starting with the noise, it reconstructs the original image based on textual guidance, refining the image to align with the specified prompt.
The process unfolds through a series of denoising steps. Beginning with a completely noise-obscured version of an image, the model incrementally reduces the noise, using the input text prompt to guide the synthesis. This allows the generation of detailed, contextually relevant images that closely align with the textual description. Each step in this denoising sequence is calculated to gradually uncover the clear image, moving from randomness to a structured and coherent visual output.

For those interested in a deeper exploration of Stable Diffusion's capabilities, its applications in creative and marketing fields, and a more technical dissection of its underlying technology, we've covered these topics extensively in our blogs. You can dive deeper into our discussions on the mechanics of diffusion models and their practical applications by visiting our blog posts: "Beginner’s Guide to Diffusion Models and Generative AI" and "Generating Marketing Assets Using Stable Diffusion and Generative AI" available on our website.
Implementing Iterative Image Generation - the Workflow
.png)
For this demo, we're using Streamlit, a simple and intuitive tool for building web apps. It allows us to write Python scripts that run as interactive web applications. Here’s a breakdown of how the code works to facilitate our image generation and enhancement workflow:
Step 1: Set Up Your Python Environment
First, ensure you have Python installed on your system. You can download it from the official Python website. Next, you'll need to install Streamlit, which lets you create web apps directly from Python scripts. You can install Streamlit using pip:
You'll also need requests for API calls and base64 for handling image data:
Once you've set up your Streamlit script, running your application is straightforward. Open your command prompt or terminal, navigate to the directory where your script is saved, and use the following command:
Replace script_name.py with the name of your Python file. This command will start the Streamlit server and open your web browser to the app. You can interact with your app in real-time, making it ideal for rapid prototyping and user feedback.
Step 2: Import Necessary Libraries
Start your script by importing the necessary libraries:
We'll need API keys from OpenAI for GPT-4 Vision and from Stability AI for Stable Diffusion. Register on their respective platforms and navigate to the API or developer section to generate your API keys. Save your api keys in a .env file and add the files in .gitignore so as to maintain the confidentiality of the API keys.
Step 3: Write Functions to Interact with APIs
Define a function to send image generation requests to the Stable Diffusion API. The function sends a POST request to the specified host URL with the prepared fields and headers:
This function handles the process of sending a request to generate an image based on provided parameters. First, it packages the parameters into a multipart/form-data format suitable for image generation APIs. This includes converting each parameter into a format that includes the parameter name and its value. After that, It sets the necessary HTTP headers including authorization using an API key and content type set to handle multipart data. If the request is successful, it encodes the received image content into a base64 string prefixed with data:image/png;base64, to facilitate easy display in web or UI applications. If the request fails, it raises an exception detailing the HTTP status code and error message.
Step 4: Analyze Images with GPT-4 Vision
Next, we'll write a custom function named analyze_image_with_gpt4 to utilize the GPT-4 Vision Preview model to generate feedback on the generated images. Here's how it works:
This function constructs a payload to send to the GPT-4 Vision API. The payload includes:
- A system message that sets the context, indicating the AI's role as a helpful assistant for providing image improvement feedback.
- A user message that consists of two parts: an image URL in base64 format and a text prompt asking how the image can be improved artistically or technically.
The function then ****configures the necessary HTTP headers, including the authorization header with the API key and the content type set to application/json. Further, it sends a POST request to OpenAI's chat completions endpoint with the prepared data and headers. If the response status is successful, the function extracts and returns the content of the feedback from the response. If the request fails, it returns an error message detailing why the analysis failed.
Step 5: Build the Streamlit Interface
Using Streamlit to create interactive components for our application:
This code snippet below will help us manage the session states
Creating the interface using streamlit and calling the functions:
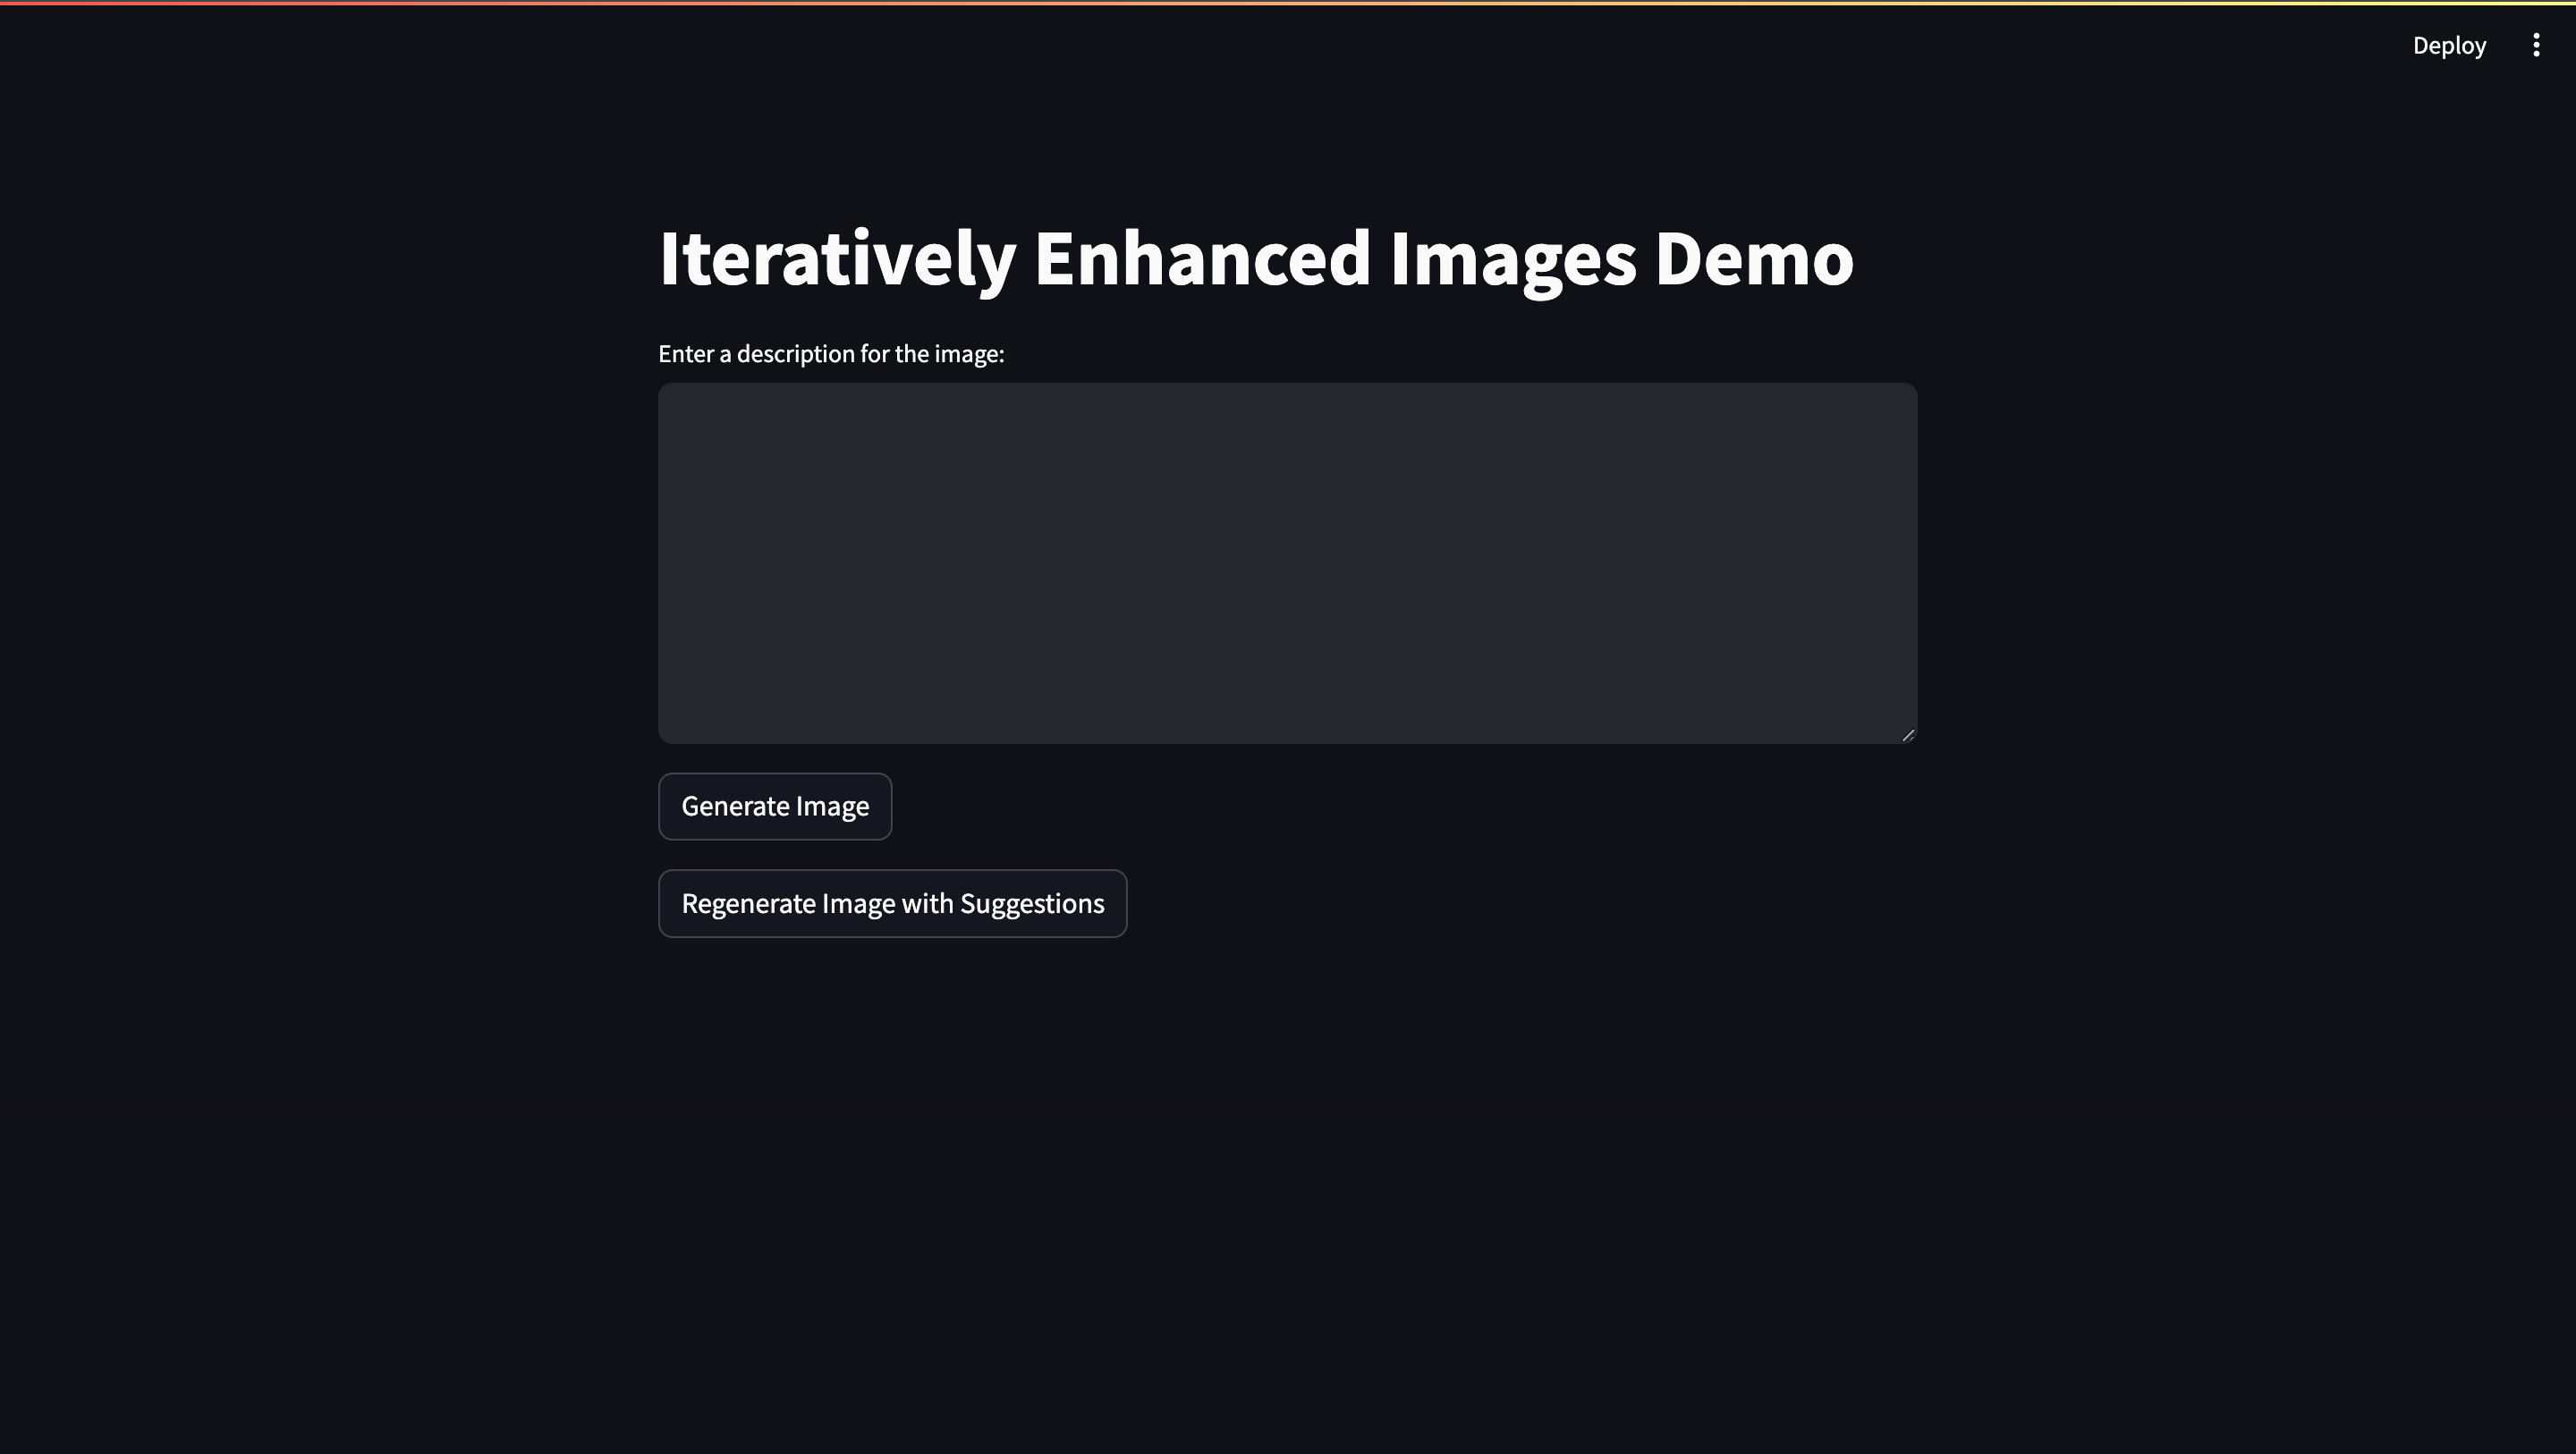
Now, to run this script, you just need to stramlit run script_name.py and you’ll see the interface. This is how the streamlit interface looks:
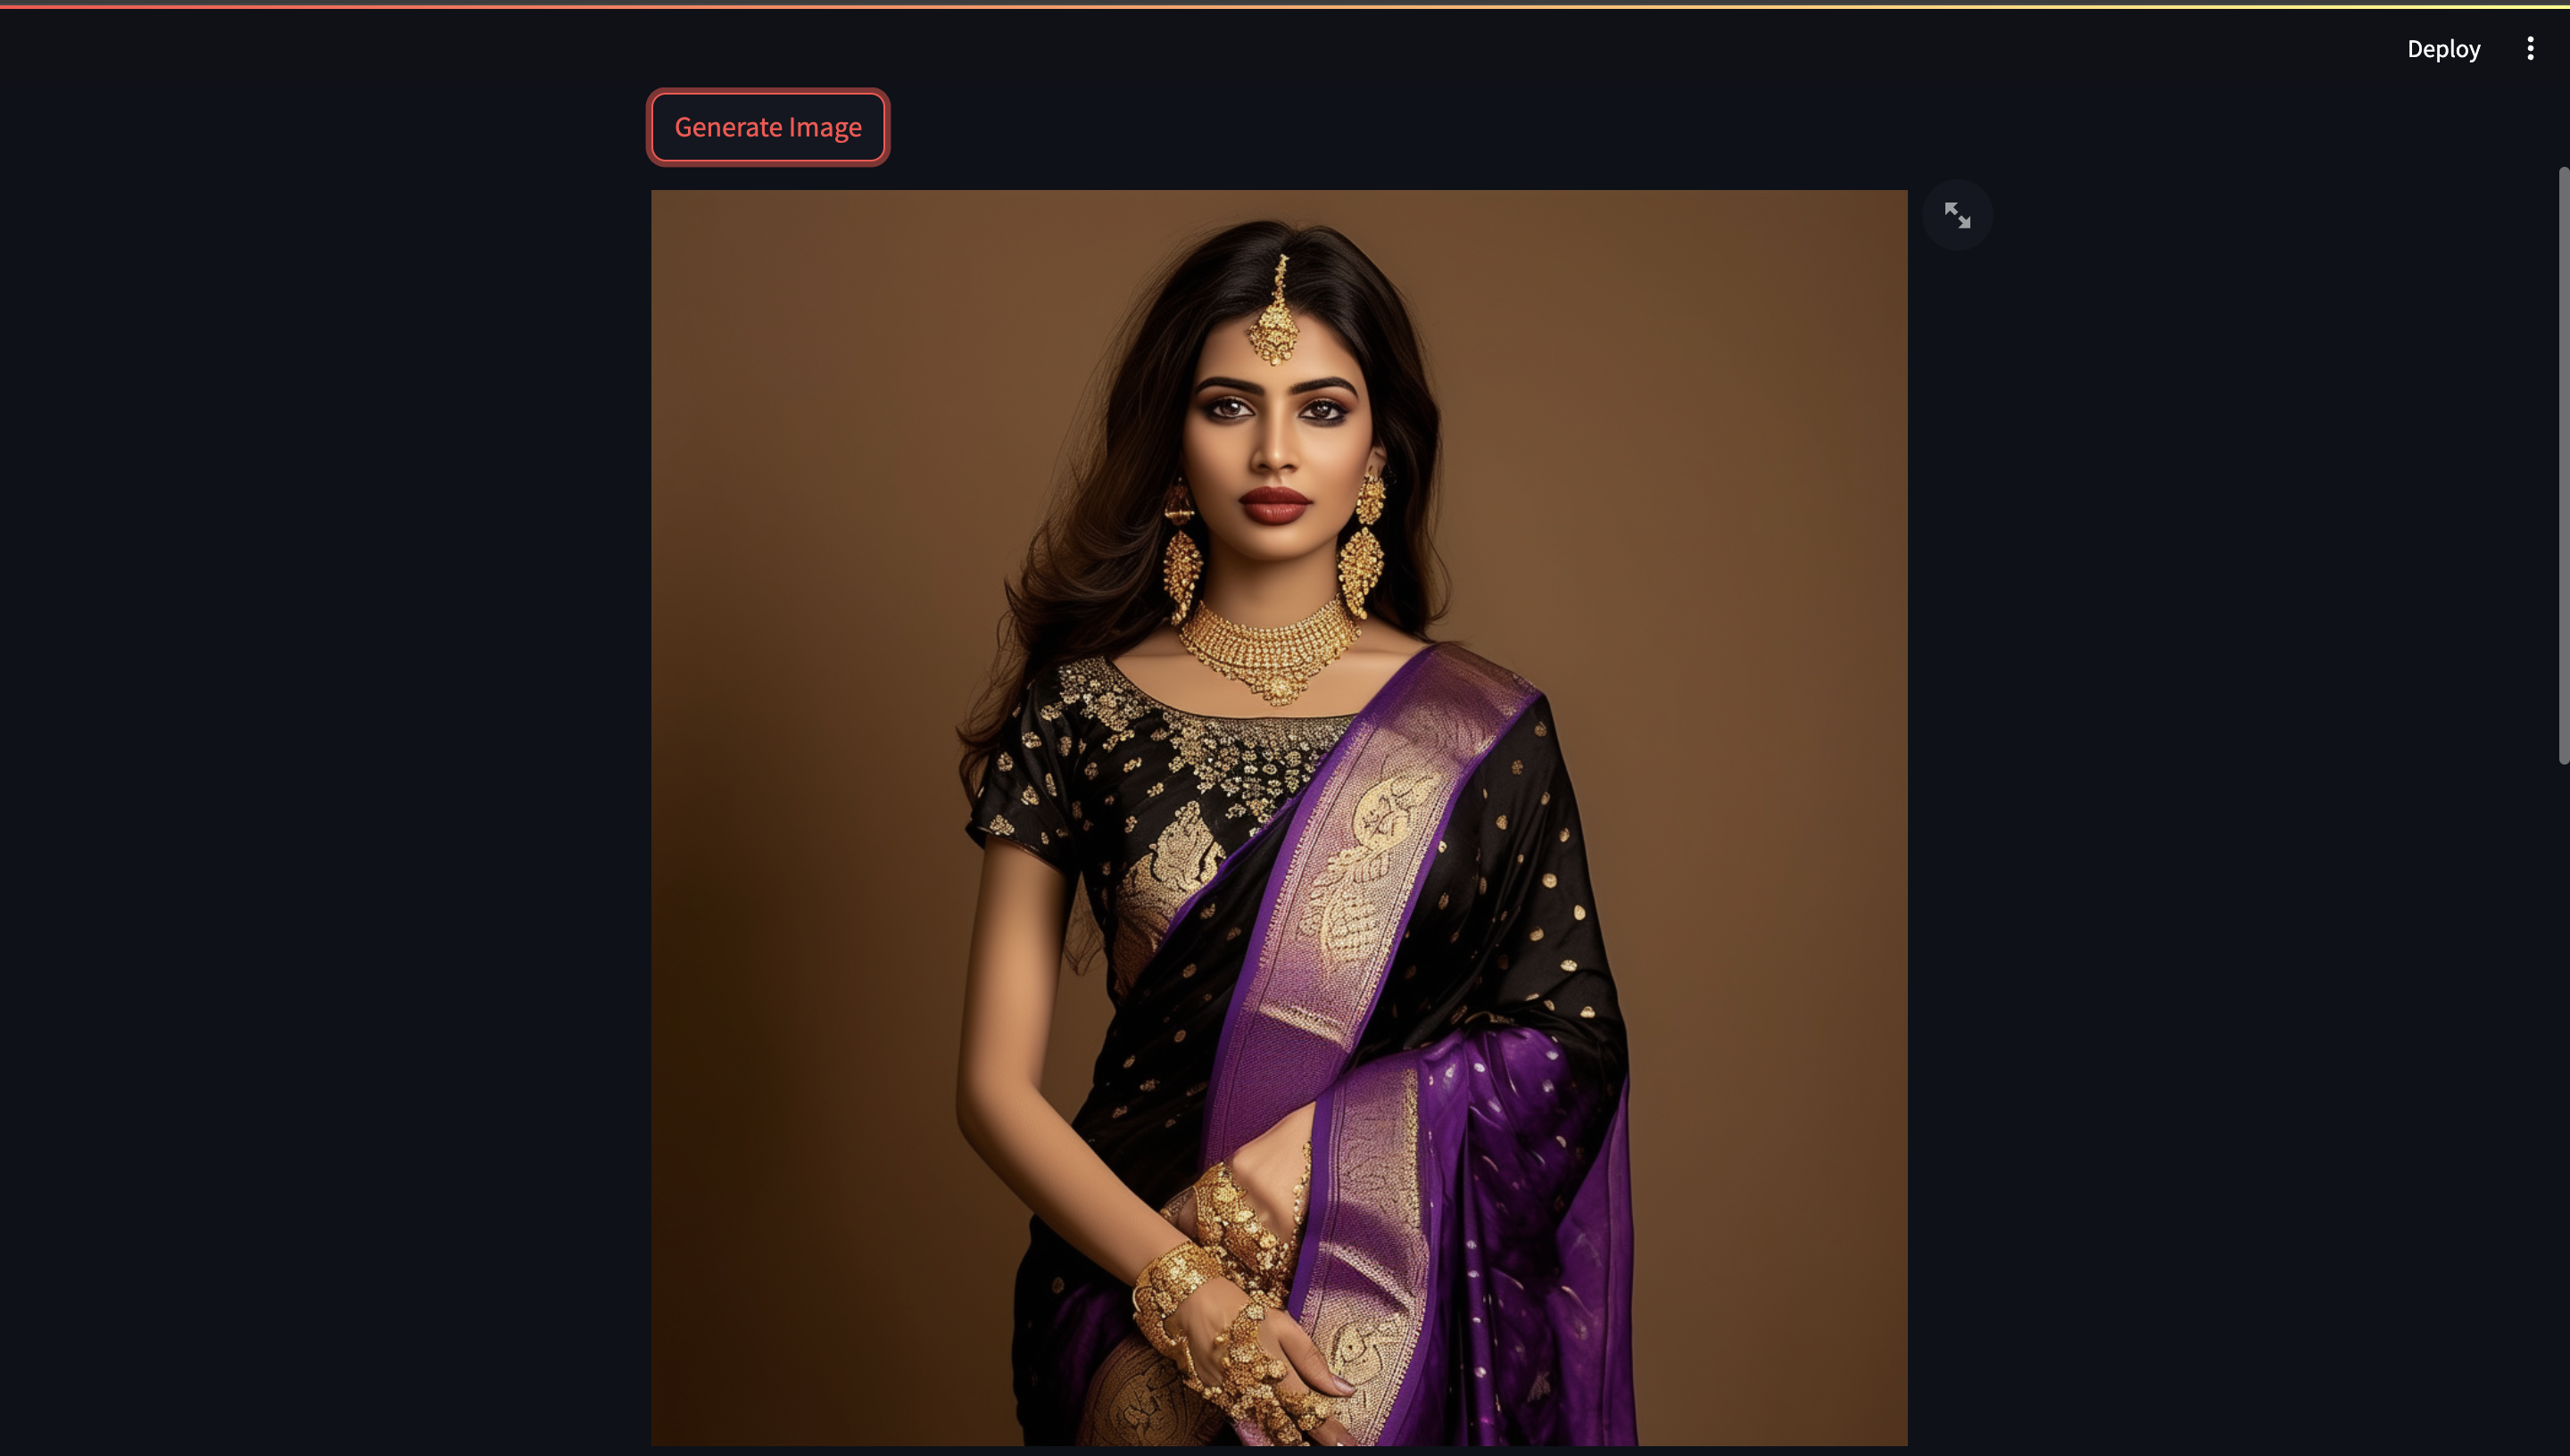
I’m trying this prompt - “Visualize an indian women wearing a zari banarasi saree in black purple colour. She's wearing golden accessories and has dark brown hair, and standing in front of an aesthetic plain solid coloured background”, and click the Generate Image This is how the first iteration looks:
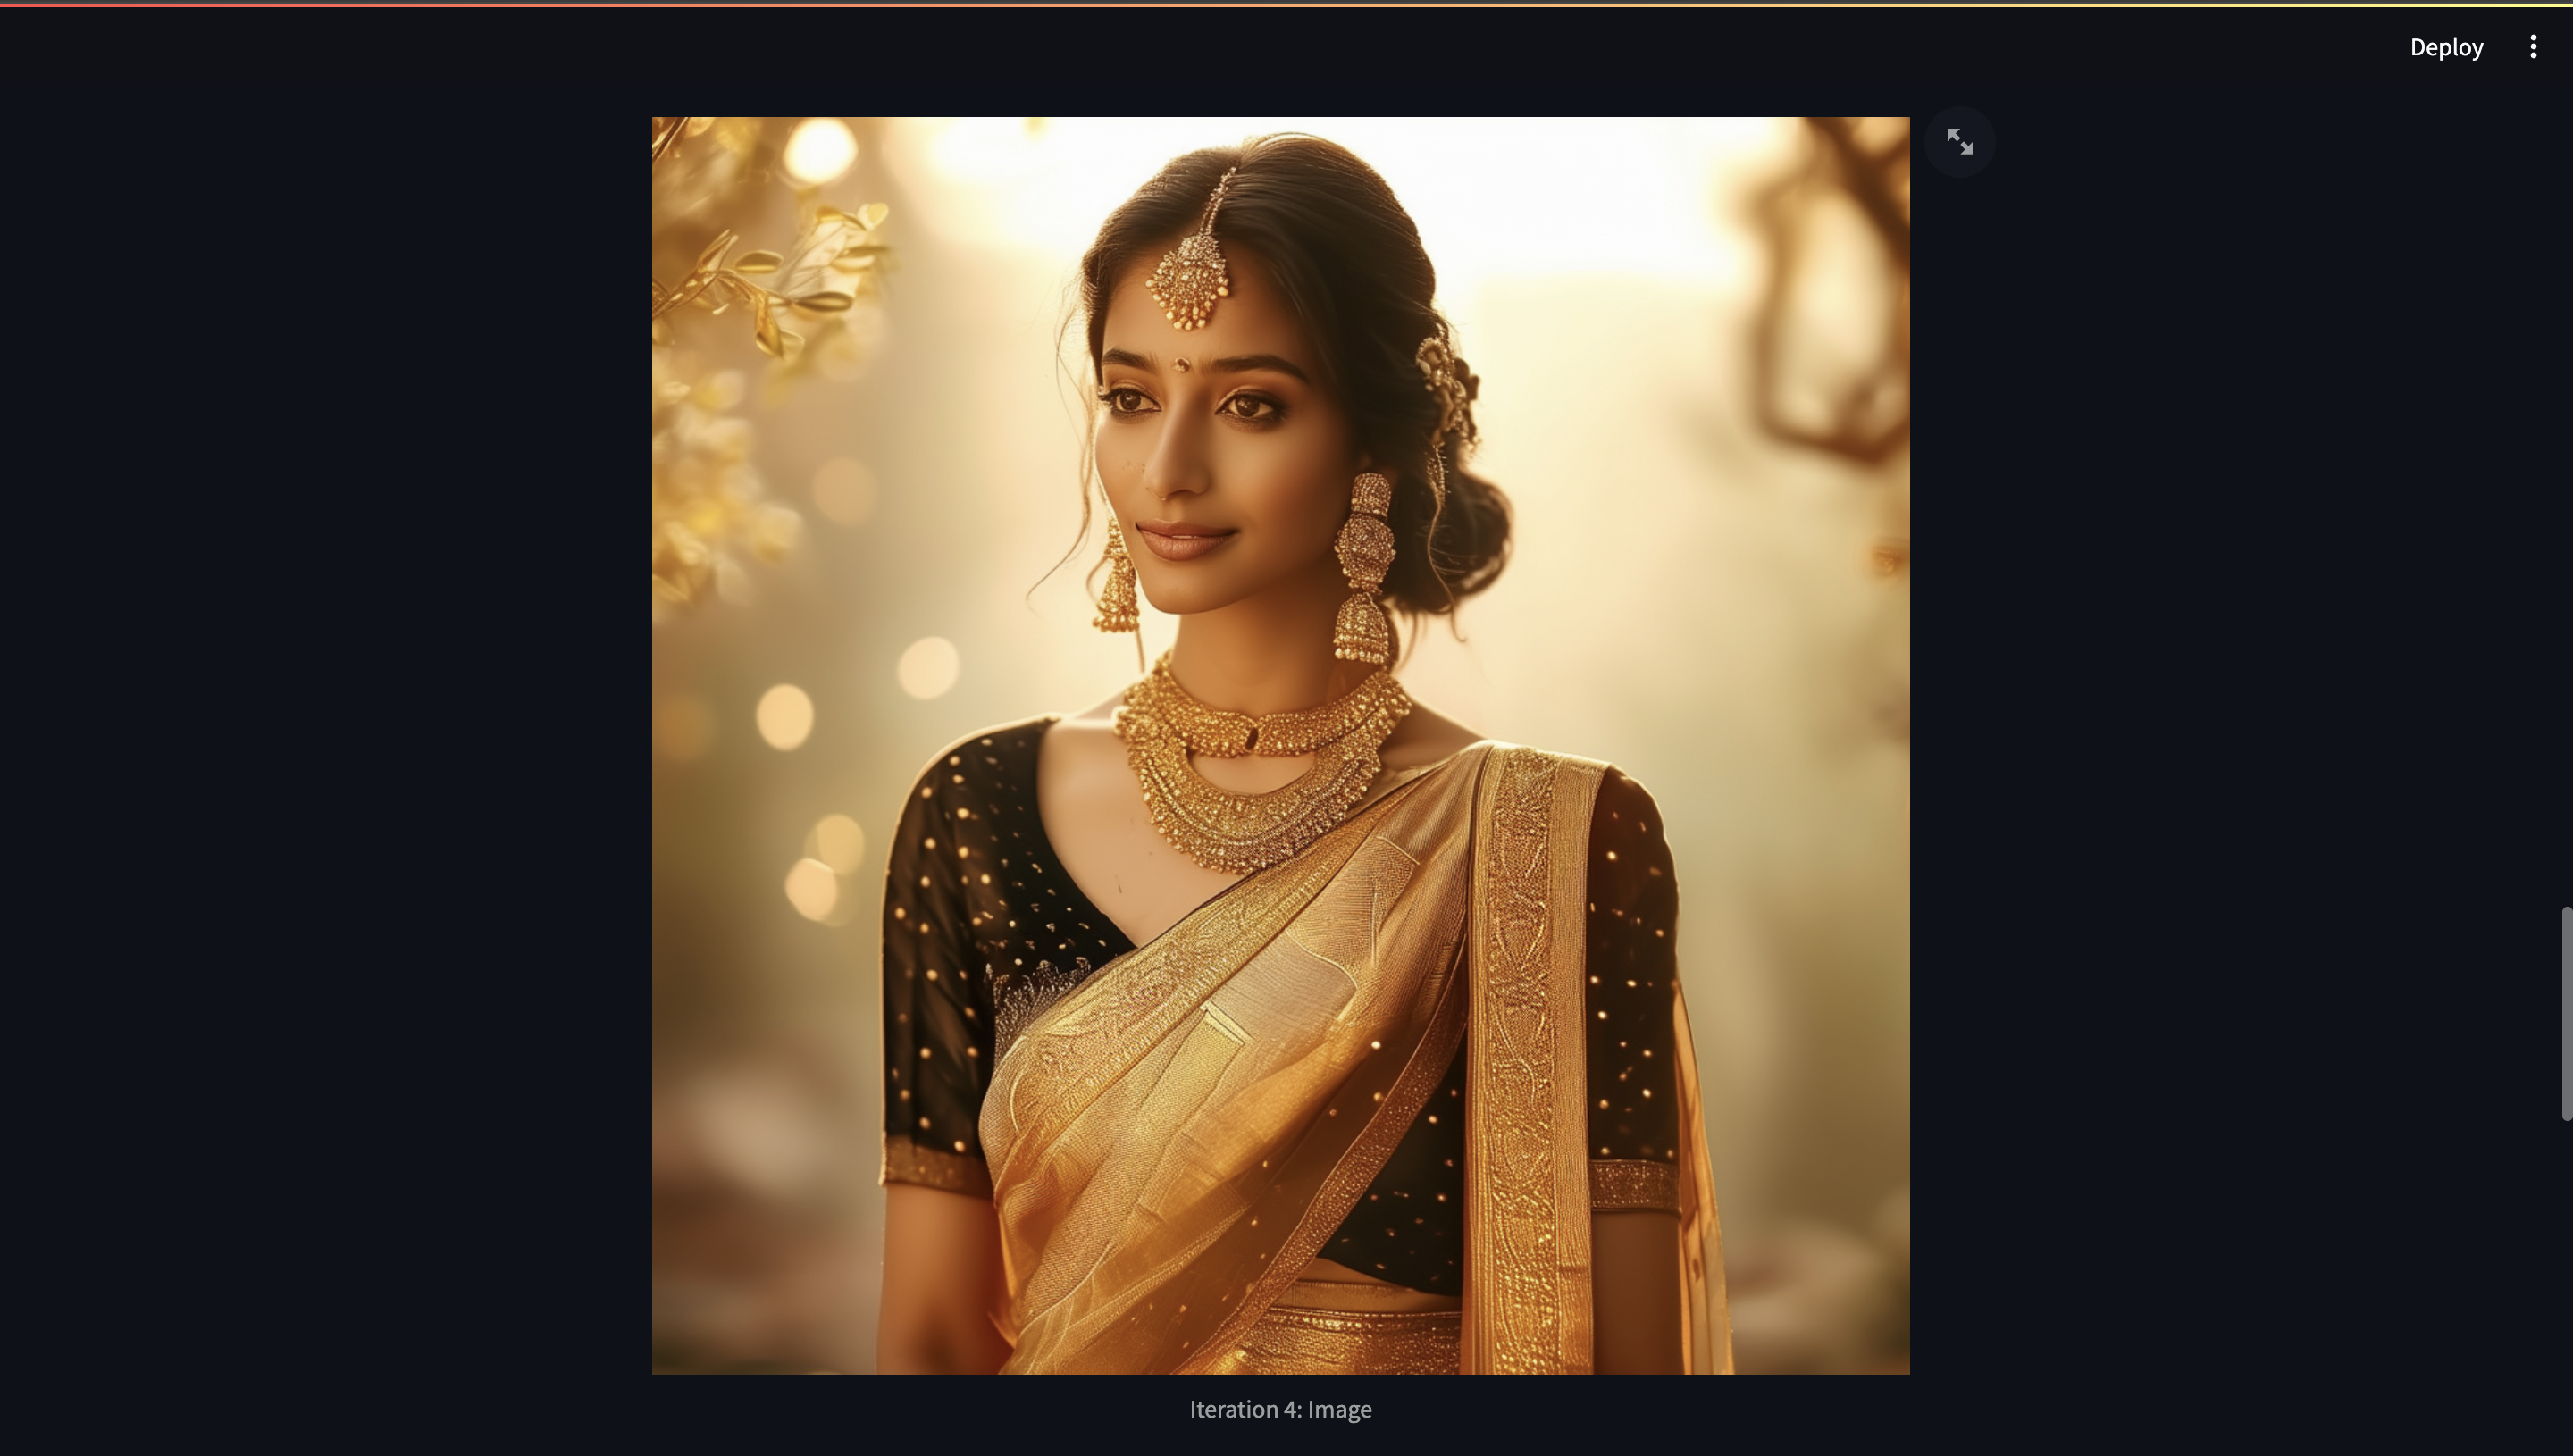
Now, after incorporating the feedback generated by GPT-4 Vision, we’ll try out the Regenerate image with Suggestions button, this is how the evolved prompt and the final iteration looks:


.png)
The demonstration of the agentic workflow is demonstrated in this video. Additionally, to create your own system you can also clone this repository for trying this demo.
Call to Action
This guide takes you through the innovative process of generating and refining images using Stable Diffusion 3 and GPT-4 Vision. We've explored how these technologies work together to transform a simple description into a visually compelling image and then iteratively enhance it based on AI-driven feedback. This approach not only streamlines the creative process but also elevates the final output, making it more aligned with the user's vision.
Excited to see how AI can enhance your creative projects? Try it out for yourself! Schedule a call with us to get a free consultation where we, the AI researchers, along with our founder Rohan Sawant, would discuss how Stable Diffusion and Gen AI can contribute to your enterprise and marketing. For more insights and inspiration, also check out AI Jason's YouTube video, which sparked the idea for this iterative image enhancement process. Dive in and start creating with the cutting edge of AI technology!


.png)